Wallpaper removal is a messy business, but someone has to do it. It is a job that is relatively simple, but extremely time-consuming and tedious to complete. If you want to attempt this project on your own, Gemini Wallcovering & Renovations, Inc. has a 6 step process to inspire your inner DIYer.
1. Prep Your Space
It is very important to take your time and properly prep the space in which you will be working. Make sure you have all of your supplies readily available. You also need to protect the floors and baseboards from the wet, sticky mess that will drip down the walls, by taping plastic along the baseboards and using towels to absorb water. Take everything off of the walls, including vents, outlet covers, and switch plates, and mask the openings with plastic and tape.
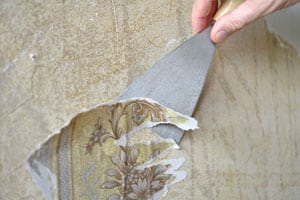
2. Tear Off the Facing
Remove the top layer of paper and leave the backing on the wall for now, by starting in a corner and pulling the facing off slowly and in large chunks, if possible. Use a putty knife to get the paper started and pull steadily at a 45-degree angle. If the facing won’t come off at all, use a scoring tool before moving on to the next step.
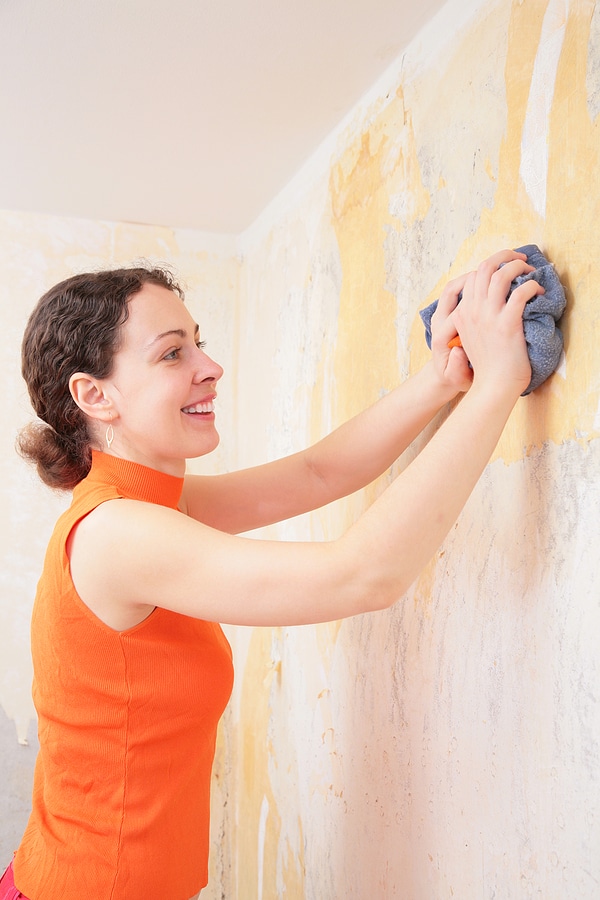
3. Apply Hot Water
Using a sponge or spray bottle, apply the hottest water that you can tolerate to the backing. Let the water soak into the backing and remaining facing for about 15 minutes. Once the backing starts to pull away from the wall, you are ready to start scraping.
4. Scrape Off the Backing
Use a flexible metal spatula or a putty knife with rounded corners to scrape the backing from the wall. Don’t use the spatula too aggressively as it could easily gouge the soft, wet wall.
5. Use Gel Stripper
This step is tedious and can be frustrating, but should not ever be skipped. There will still be a lot of paste left on the walls, so spray the trouble spots with gel stripper and let it sit for 15-20 minutes. Scrape off all of the paste until it is completely gone. After the paste is completely gone, rinse the wall with water until it is smooth and clean.
6. Sand and Prime
First, patch any gouges or wall damage with a joint compound. Next, sand the wall with a hand sander to remove any backing or paste. Once the wall is completely smooth, you can apply the appropriate primer for your job.
Are you excited to tackle this DIY project? If so, more power to you! If you’re not so sure and you’re feeling overwhelmed, contact Gemini Wallcovering & Renovations today at (571) 501-1405. We can take the headache and stress out of wallpaper removal no matter where you are in the process, and we’d be delighted to take this burden off of your shoulders.
Sources: